
Hello folks! You just set up a new Mac, fired up Migration Assistant to pull everything over from the old one, and now it’s just sitting there. The progress bar hasn’t moved in twenty minutes, or worse, you got a blunt “This Mac can’t be used to migrate data” error before it even started. I’ve had this happen mid-setup, and it’s a special kind of annoying when you just want your desktop back the way it was.
The good news is that Migration Assistant getting stuck on macOS Tahoe usually comes down to a handful of known causes, and most of them take two minutes to fix. Here’s what to check, in the order that solves it fastest.
Quick answer: Migration Assistant usually stalls because of a missing account password, a blank “local hostname,” a firewall blocking the connection, or the Applications transfer choking mid-way. Set a password on your user account, give your Mac a proper local hostname in System Settings > General > Sharing, turn off the firewall temporarily, and try transferring without Applications selected. If it’s still frozen, restart both Macs and try a wired connection instead of Wi-Fi.
Step 1: Give both Macs a real local hostname
This one catches a lot of people because it’s not obvious it matters. Migration Assistant uses your Mac’s local network name to find and talk to the other Mac. If that name is blank, the whole thing can hang without any real error.
- Open System Settings and go to General > Sharing.
- Scroll to the bottom of the window and look at the Local hostname field.
- If it’s empty or looks broken, click Edit and type in a simple name, like your first name with no spaces or special characters.
- Do this on both the old and new Mac, then try the migration again.
Step 2: Make sure your account has a password
This is the exact cause behind the “This Mac can’t be used to migrate data” message for a lot of people. If your user account doesn’t have a password set, Migration Assistant refuses to transfer it.
- Open System Settings and go to Users & Groups.
- Select your account and click the info button next to it.
- Click Change Password next to your account and set one, even a simple one you can change later.
- Try the migration again after this.
It feels like an odd requirement, but Migration Assistant needs a password to securely move your account data over. No password, no transfer.
Step 3: Turn off the firewall, at least temporarily
Firewalls and antivirus tools are the other big culprit. They can block the connection between the two Macs without any obvious warning.
- Open System Settings and go to Network > Firewall.
- Turn the firewall off on both Macs for the duration of the transfer.
- If you use third-party antivirus software, quit it or disable it too, then restart Migration Assistant.
Turn the firewall back on once the migration finishes. You don’t need to leave it off permanently, just long enough to get your files across.
Step 4: Try the transfer without Applications
If steps 1-3 didn’t do it, the Applications category is a common place for the transfer to choke, especially with older or third-party apps that don’t play nicely with a new macOS version.
- Quit and reopen Migration Assistant on both Macs.
- When you reach the screen that lets you choose what to transfer, uncheck Applications.
- Transfer just your user account, documents, and settings first.
- Reinstall the apps you actually use afterward, either from the App Store or the developer’s site.
This one worked for me on a Mac mini transfer last year. The whole thing had been frozen at “About 10 minutes remaining” for over an hour, and it finished in under fifteen once I dropped Applications from the list.
Step 5: Switch to a wired connection
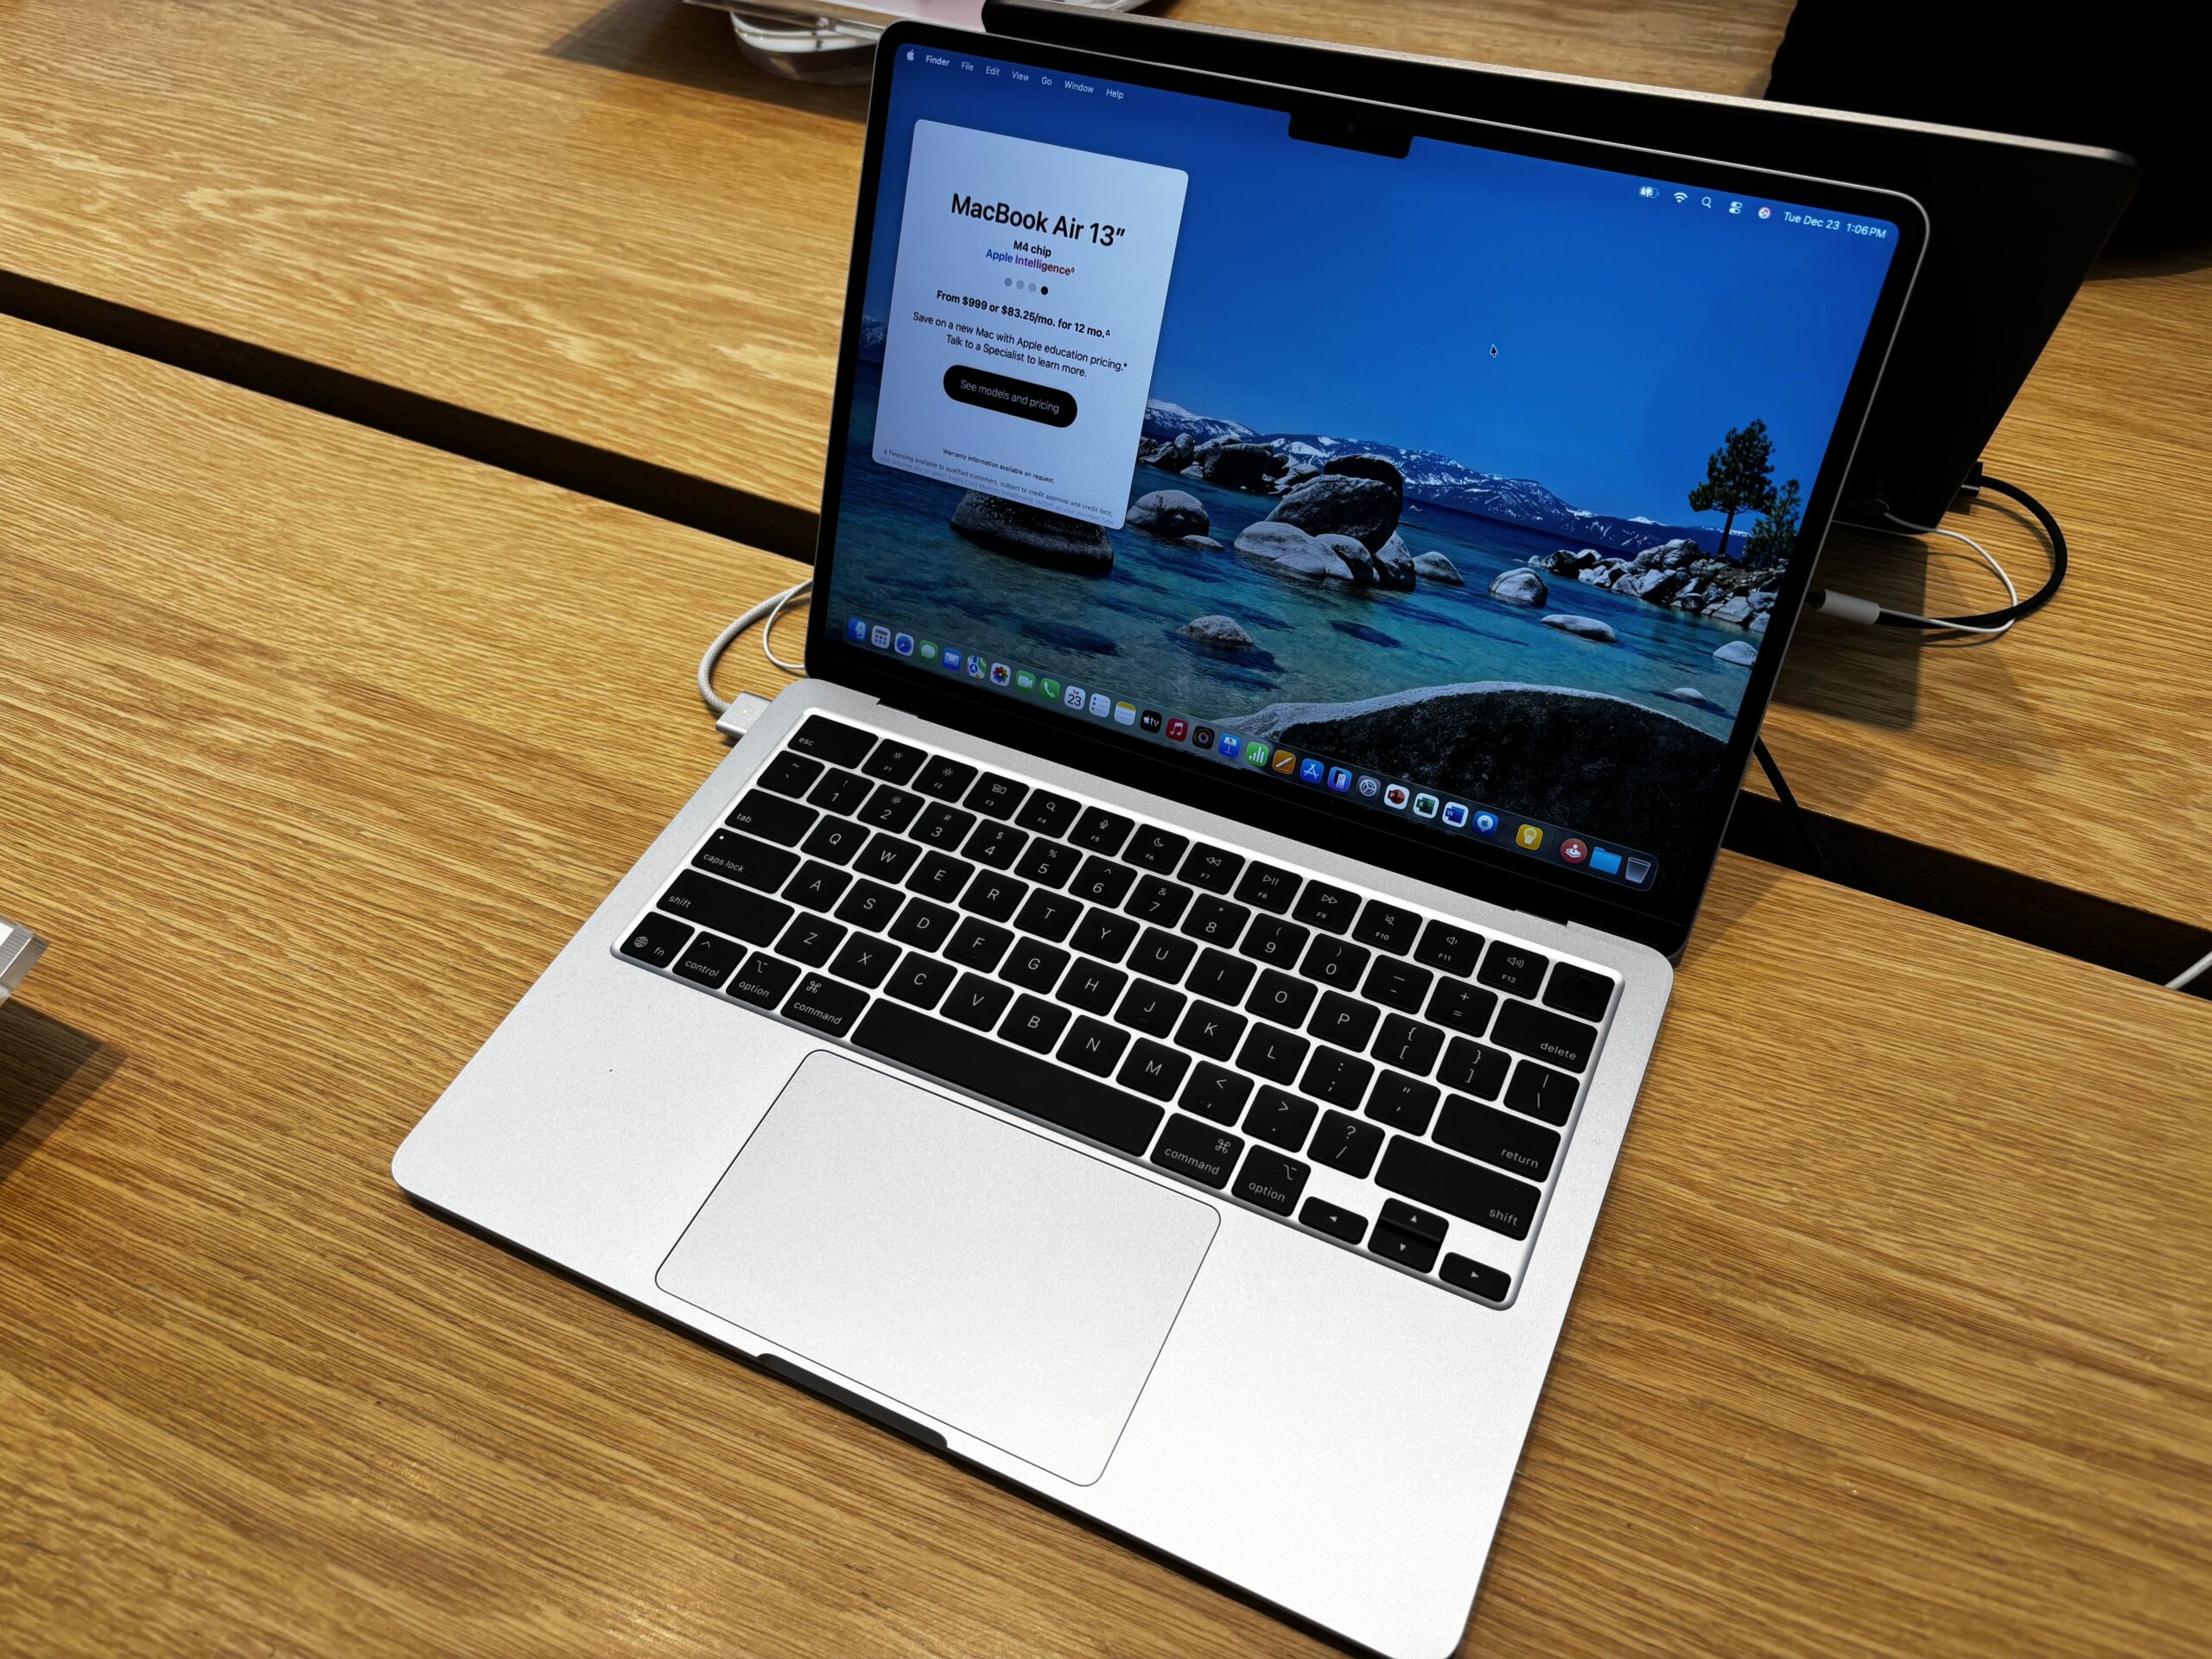
Wi-Fi migrations are convenient, but they’re also the slowest and least stable option, especially over a large photo or video library. If you have a Thunderbolt or USB-C cable that fits both Macs, use it. A direct cable connection is faster and far less likely to time out or drop mid-transfer than a wireless one.
Tips and troubleshooting
- Update macOS on both Macs first. They don’t need to match versions, but both should be reasonably current. Apple tweaks Migration Assistant’s reliability with nearly every macOS update.
- Keep both Macs awake and nearby. If either one goes to sleep mid-transfer, the connection can drop. Adjust Energy Saver settings temporarily if you’re doing a long migration overnight.
- Try Time Machine as the source instead. If a direct Mac-to-Mac migration keeps failing, back up your old Mac to an external drive with Time Machine, then point Migration Assistant at that backup instead. It’s often more stable than a live connection.
- Last resort: Target Disk Mode. On Intel Macs, you can connect both machines with a cable and boot the old one in Target Disk Mode, which mounts it like an external drive. This isn’t available on Apple Silicon Macs, so it only works if your old Mac is an Intel model.
- If it’s truly frozen, not just slow, force quit Migration Assistant on both ends, restart both Macs, and start fresh rather than waiting indefinitely.
FAQ
How long should Migration Assistant actually take?
It depends heavily on how much data you’re moving and your connection type. A cable connection with a few hundred gigabytes can take one to two hours. Over Wi-Fi, the same transfer can take most of a day. If the estimated time hasn’t changed in over an hour, something is likely stuck rather than just slow.
Will I lose data if I force quit a stuck migration?
No, your old Mac isn’t touched during migration. Force quitting just cancels the transfer to your new Mac, so you can safely restart the process without worrying about your original files.
Can I migrate from an iCloud backup instead of another Mac?
Migration Assistant is built for Mac-to-Mac, PC-to-Mac, or Time Machine backup transfers, not iCloud backups directly. If your old Mac’s files are already synced to iCloud Drive, they’ll come down automatically once you sign into iCloud on the new Mac instead.
Do both Macs need to be on the same macOS version?
No, they don’t need to match. Apple only recommends keeping both reasonably up to date, since very old macOS versions on either end can cause compatibility hiccups during the transfer.
Did one of these fixes get your migration moving again, or did you find a different workaround? Let me know in the comments, it helps the next person stuck on the same spinning progress bar.
Source: Apple Support — Transfer to a new Mac with Migration Assistant
Related: How to Fix iCloud Drive Stuck on Waiting to Upload on Mac